


Many homeowners wonder if they can skip the prep work and just roll out artificial grass on bare dirt. It’s a fair question, especially when you’re looking to save time and money on your yard renovation. We’ve researched this common query to give you the straightforward answer.
Unfortunately, you cannot simply lay artificial turf directly on top of dirt without proper preparation. While it might seem like a shortcut, proper installation requires several important steps for long-lasting results. The ground needs to be properly prepared with a base layer for drainage, stability, and weed prevention.
A good artificial turf installation requires a layer of compacted sand or crushed rocks for drainage and stabilization cloth before the turf goes down. We’ve found that these preparation steps are essential for ensuring your artificial grass looks great and performs well for years to come. Without them, you’ll likely face issues with drainage, weeds, and premature deterioration of your investment.
Understanding Artificial Grass
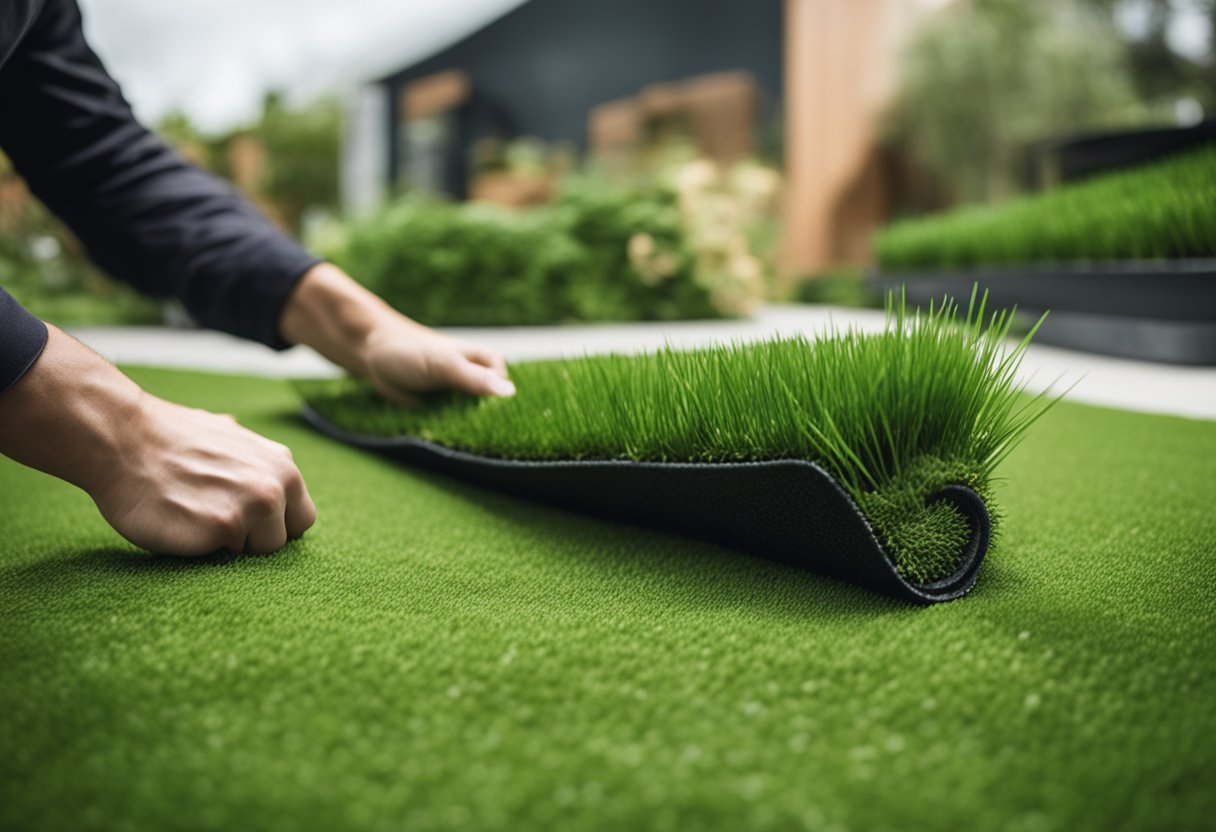
Artificial grass has evolved significantly since its introduction in the 1960s. Modern synthetic turf products offer realistic appearances and practical benefits for homeowners seeking low-maintenance landscaping solutions.
Benefits of Artificial Grass
Artificial grass provides year-round green landscaping without the need for mowing, watering, or fertilizing. This can save homeowners significant time and money on lawn maintenance.
Water conservation is another major advantage. A typical natural lawn requires thousands of gallons of water annually, while artificial turf requires none for survival.
Many modern artificial grass options are eco-friendly and recyclable. They eliminate the need for potentially harmful pesticides and fertilizers that can run off into water systems.
Durability is impressive too. Quality artificial grass can last 15-20 years with minimal maintenance, making it cost-effective over time despite higher initial installation costs.
For families with children and pets, artificial grass provides a clean play surface that won’t create mud or grass stains.
Types of Artificial Grass
Nylon artificial grass offers exceptional durability and heat resistance. It’s the strongest synthetic grass fiber but comes at a premium price. We recommend this type for high-traffic areas and extremely hot climates.
Polyethylene turf provides the most realistic look and soft feel. This mid-range option balances affordability with quality and is ideal for residential lawns and play areas.
Polypropylene grass is the most affordable option but less durable than other types. It works well in indoor settings or areas with minimal foot traffic.
The pile height (blade length) typically ranges from 30-37mm for a natural look. Shorter options (20-30mm) work well for putting greens or decorative areas.
Many products now feature advanced drainage systems with perforated backing that allows water to flow through at rates of 30+ inches per hour.
Preparing the Dirt Surface
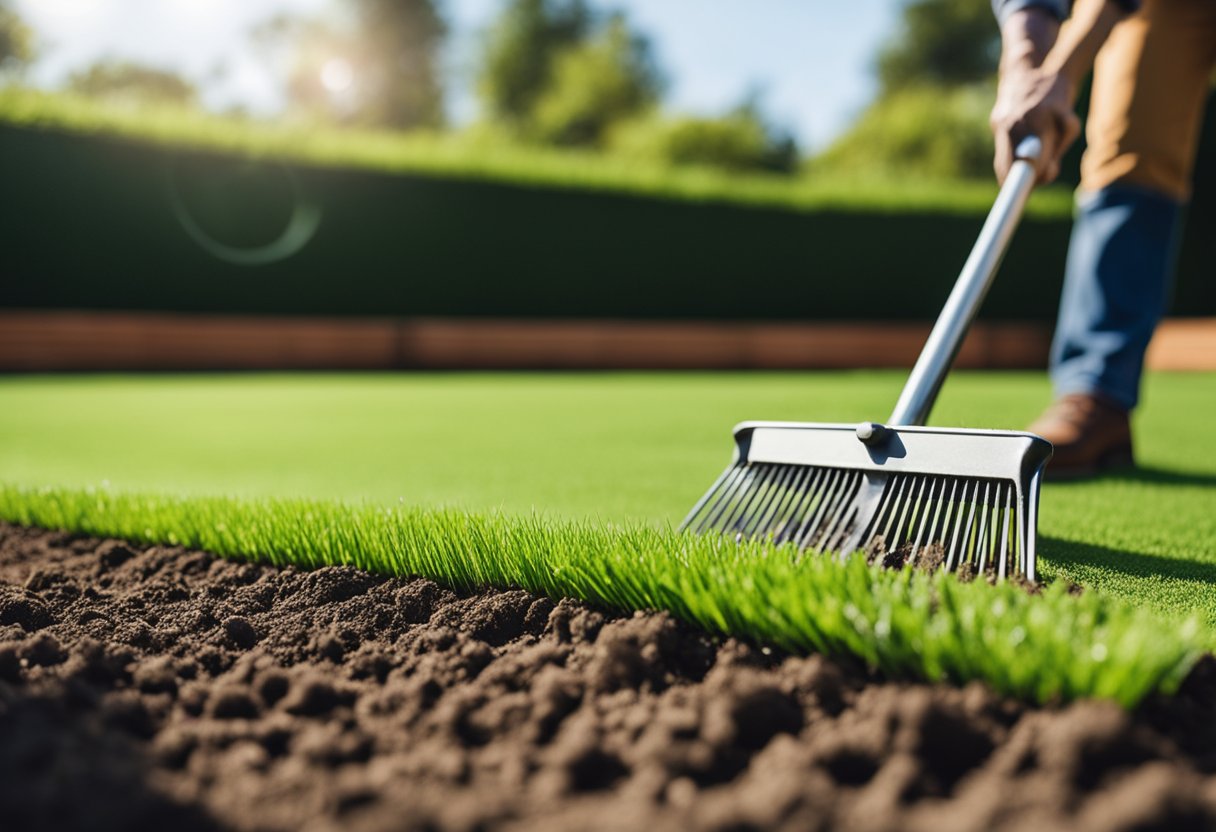
Proper ground preparation is essential before installing artificial grass. The condition of your soil base directly affects drainage, stability, and the overall lifespan of your turf installation.
Clearing the Area
First, we need to remove all existing vegetation from the area. Use a spade or sod cutter to strip away grass and weeds, making sure to get the roots too. Artificial grass requires a clean dirt surface for proper installation.
Apply a weed killer to prevent future growth. Wait at least 1-2 weeks after application before continuing with your installation.
Remove any large rocks, sticks, or debris that could create bumps under your turf. This step might seem tedious, but it’s crucial for a smooth final result.
For thorough preparation, dig down about 3-4 inches below the planned finished level. This creates space for your base materials while keeping the artificial grass level with surrounding areas.
Leveling the Ground
After clearing, we need to create a perfectly level base. Use a rake to spread the soil evenly across the area. A flat, smooth surface prevents pooling water and uneven wear.
For larger areas, consider renting a plate compactor to firm up the soil. This helps prevent future settling that could create dips in your lawn.
Check for level using a long straight piece of wood and a spirit level. Look for any high or low spots that need adjustment.
Pay special attention to edges where your artificial grass will meet other surfaces like patios or walkways. The turf should sit flush with these transitions for a natural look and to prevent tripping hazards.
Improving Soil Drainage
Proper drainage is critical because artificial turf cannot be installed directly on soil without a drainage layer. Start by ensuring the ground slopes away from buildings at about 1-2% grade.
Add a 2-3 inch layer of crushed stone or decomposed granite as your drainage base. This material allows water to flow through rather than pooling on the surface.
Recommended drainage materials:
- 3/8″ crushed stone
- Class II road base
- Sharp sand (for the top layer)
Compact this layer thoroughly using a plate compactor. Make several passes in different directions for maximum compaction.
For areas with poor natural drainage, consider installing a drainage system beneath your base layer. Perforated pipes directed to a suitable drainage point can prevent water buildup during heavy rain.
Laying the Foundation
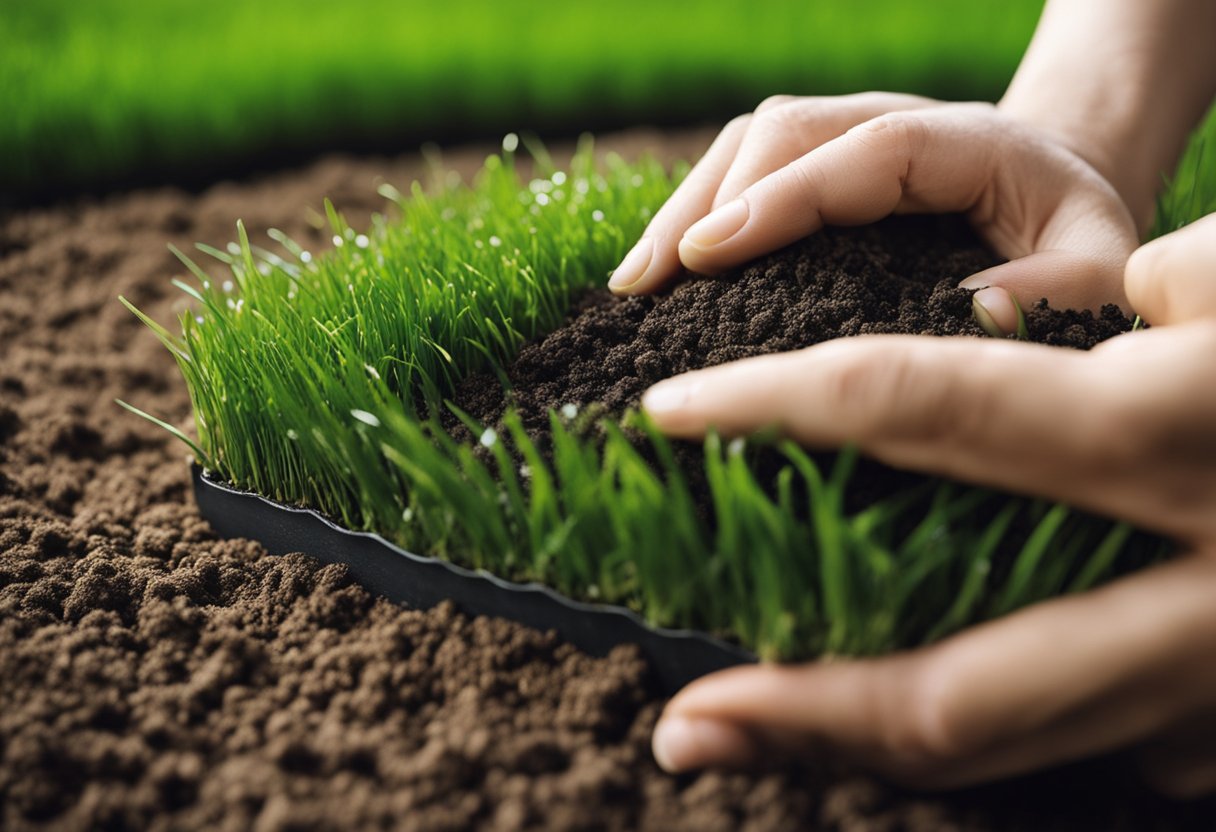
The key to successful artificial grass installation lies in proper ground preparation. A solid foundation prevents issues like poor drainage, uneven surfaces, and premature wear.
Choosing the Right Base Material
The base material you select directly impacts your artificial turf’s performance and longevity. We recommend using a combination of crushed stone and decomposed granite for optimal results.
For most residential installations, a 3-4 inch layer of Class II road base provides excellent drainage properties. This material compacts well while allowing water to filter through efficiently.
Avoid using regular soil as your base material. As one installer notes, laying artificial turf directly on soil leads to serious issues over time.
Sand is another excellent option, particularly “sharp sand” that won’t wash away easily. It creates a stable foundation that helps distribute weight evenly across the surface.
Applying and Compacting the Base
Start by spreading your chosen base material evenly across the prepared area. Use a rake to distribute it uniformly before compacting.
We recommend applying the base in 1-2 inch layers rather than all at once. This method allows for thorough compaction of each layer.
A plate compactor works best for this task. Make multiple passes in different directions to ensure the entire surface is properly compressed. The base should feel firm underfoot with minimal give.
Remember to maintain a slight slope (about 1-2%) away from buildings for proper drainage. Use a level to check regularly during the compaction process.
Spray the base lightly with water between compaction passes. This helps the material settle and compact more effectively without becoming muddy or unstable.
Installing the Artificial Grass
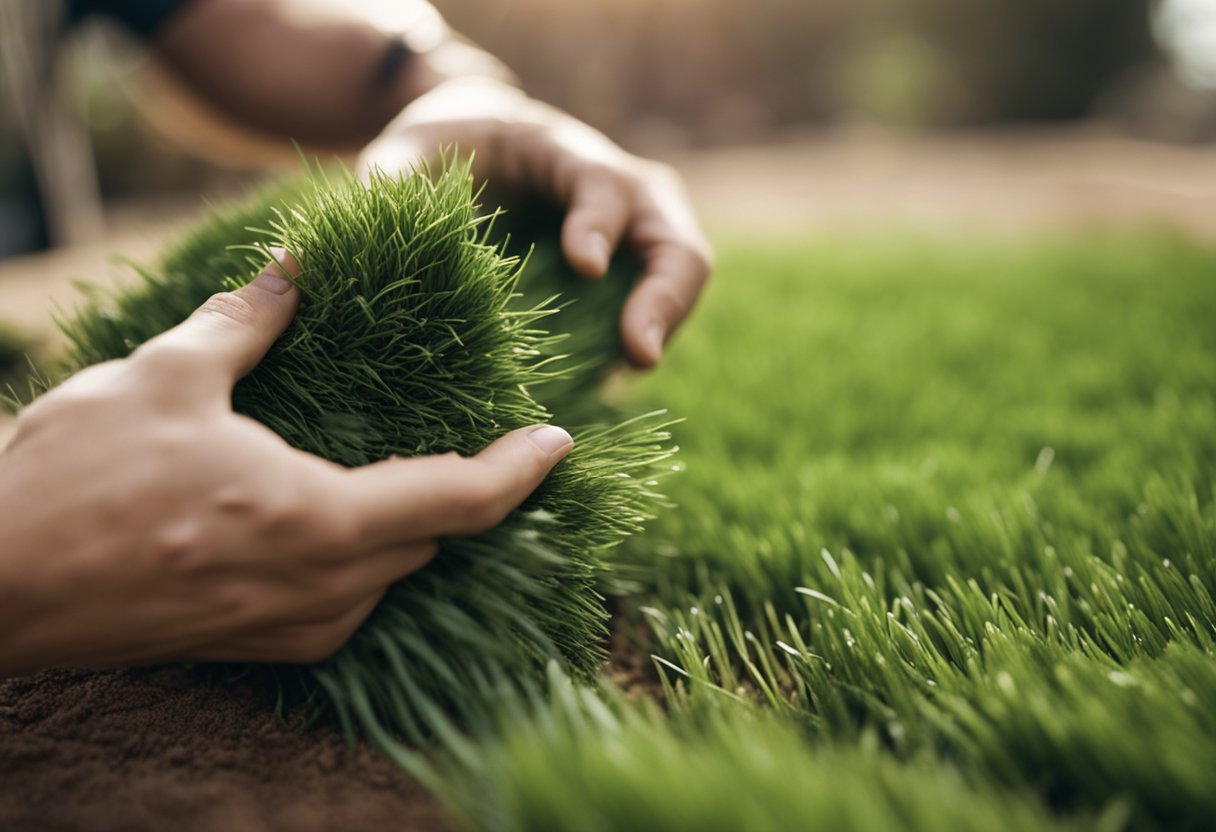
Once you have prepared the base properly, it’s time to lay your artificial grass. This process requires careful measurements, proper securing techniques, and finishing touches for a professional look.
Cutting to Fit the Area
Start by rolling out the artificial turf over your prepared base. Allow the grass to settle for at least 1-2 hours before cutting. This helps prevent wrinkles and ensures the material acclimates to the environment.
Using a sharp utility knife or carpet cutter, trim the edges to fit your specific area. We recommend cutting from the back of the turf when possible for a cleaner edge.
Always measure twice and cut once. Leave about an inch of extra material around the perimeter that can be trimmed more precisely later.
For complex shapes or curves, create a template first or mark the cutting lines directly on the back of the turf. Cut carefully around obstacles like trees or garden features to ensure a neat installation.
Remember to align the direction of the grass blades consistently throughout your installation for a uniform appearance.
Securing the Edges
Proper edge securing prevents lifting and movement of your artificial grass. The most common methods include:
Securing options:
- Landscaping pins/stakes (every 4-6 inches along edges)
- Adhesive (for joining seams or securing to hard surfaces)
- Perimeter nailing to wooden borders
For seams between turf sections, use joining tape with synthetic adhesive beneath the connected edges. Press firmly and allow proper drying time as recommended by experts.
We suggest tucking edges into a small trench around the perimeter (about 1-2 inches deep) for a clean, hidden edge. This technique creates a more natural-looking transition to other landscape elements.
For installations against hard surfaces like concrete, apply adhesive directly to create a secure bond.
Adding Infill
Infill is crucial for artificial grass installation as it provides stability, weight, and protection. We typically use materials such as:
Common infill materials:
- Silica sand (most popular option)
- Rubber granules
- Acrylic coated sand
- Antimicrobial infill (for pet areas)
Spread the infill material evenly across the surface using a drop spreader at approximately 1-2 pounds per square foot. The exact amount depends on the specific artificial grass product you’ve selected.
Brush the infill into the grass fibers using a stiff broom or power brush, working in different directions. This helps the grass blades stand upright and creates a more natural appearance.
After applying infill, water the area lightly to help settle the material. This final step ensures the grass fibers remain properly supported and helps rinse away any dust.
Maintenance and Care

Proper maintenance is crucial for artificial grass, especially when installed over prepared dirt. Regular brushing with a stiff broom helps keep the fibers upright and looking natural. We recommend doing this at least once a month.
Debris like leaves and twigs should be removed promptly. These can be picked up with a leaf blower, plastic rake, or broom. Metal tools should be avoided as they may damage the turf fibers.
For spills and pet waste, rinse the area with water and mild soap if necessary. Most artificial turf allows for proper drainage when installed correctly over a prepared base.
Weeds can occasionally grow between seams or edges. Pull them by hand as soon as you notice them or use a pet-friendly weed killer if necessary.
Seasonal Maintenance Tips:
- Spring: Thorough cleaning to remove winter debris
- Summer: Rinse occasionally during hot periods to cool down the surface
- Fall: Remove fallen leaves promptly
- Winter: Clear snow with plastic shovel (avoid metal)
While artificial grass requires much less maintenance than natural grass, these simple care steps will extend its life and keep it looking its best. With proper care, quality artificial turf can last 10-15 years, making it a worthwhile investment despite the initial installation requirements.
Environmental Considerations
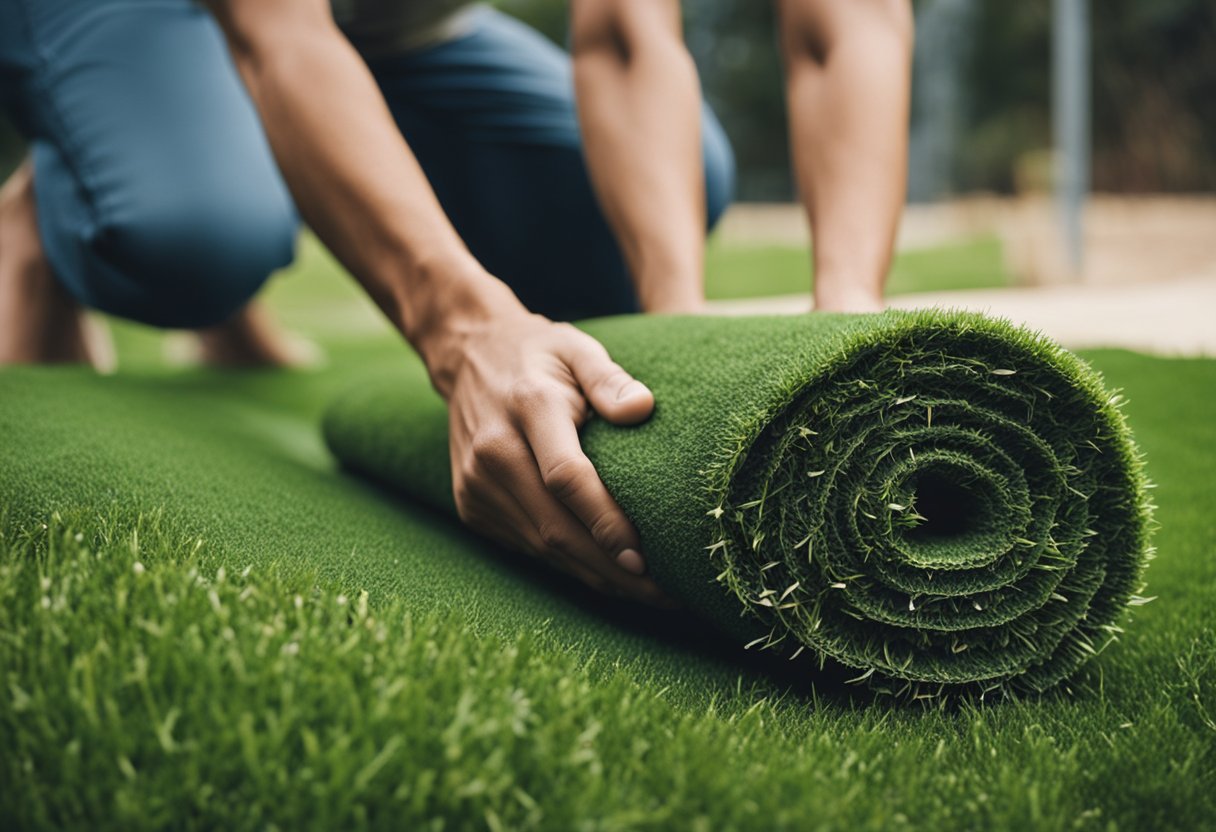
When thinking about installing artificial turf on dirt, we need to consider several environmental factors. The decision affects more than just your yard’s appearance.
Artificial grass creates a barrier that kills soil life beneath it. Natural processes that would occur in soil become impossible when covered with synthetic materials.
Water runoff is another important issue. Unlike natural grass that absorbs rainwater, artificial turf causes water to run off quickly, potentially causing drainage problems in your yard and neighborhood.
Microplastics from artificial turf can spread through wind and water. These tiny plastic pieces can travel to storm drains and water systems, adding to pollution.
Heat is a significant factor too. Artificial turf gets much hotter than natural grass on sunny days, creating a heat island effect in your yard.
Natural lawns provide habitat for insects and small organisms. These creatures help maintain a healthy ecosystem, but they lose their homes when artificial turf is installed.
Maintenance Requirements:
- No mowing or watering needed
- Occasional rinsing to remove dust
- Cannot decompose yard waste naturally
- May need special cleaning for pet waste
We should also note that synthetic turf harbors dust, pet waste, and bacteria that would normally break down in natural soil but remain on the surface of artificial grass.